Add new attachment
Only authorized users are allowed to upload new attachments.
List of attachments
| Kind | Attachment Name | Size | Version | Date Modified | Author | Change note |
|---|---|---|---|---|---|---|
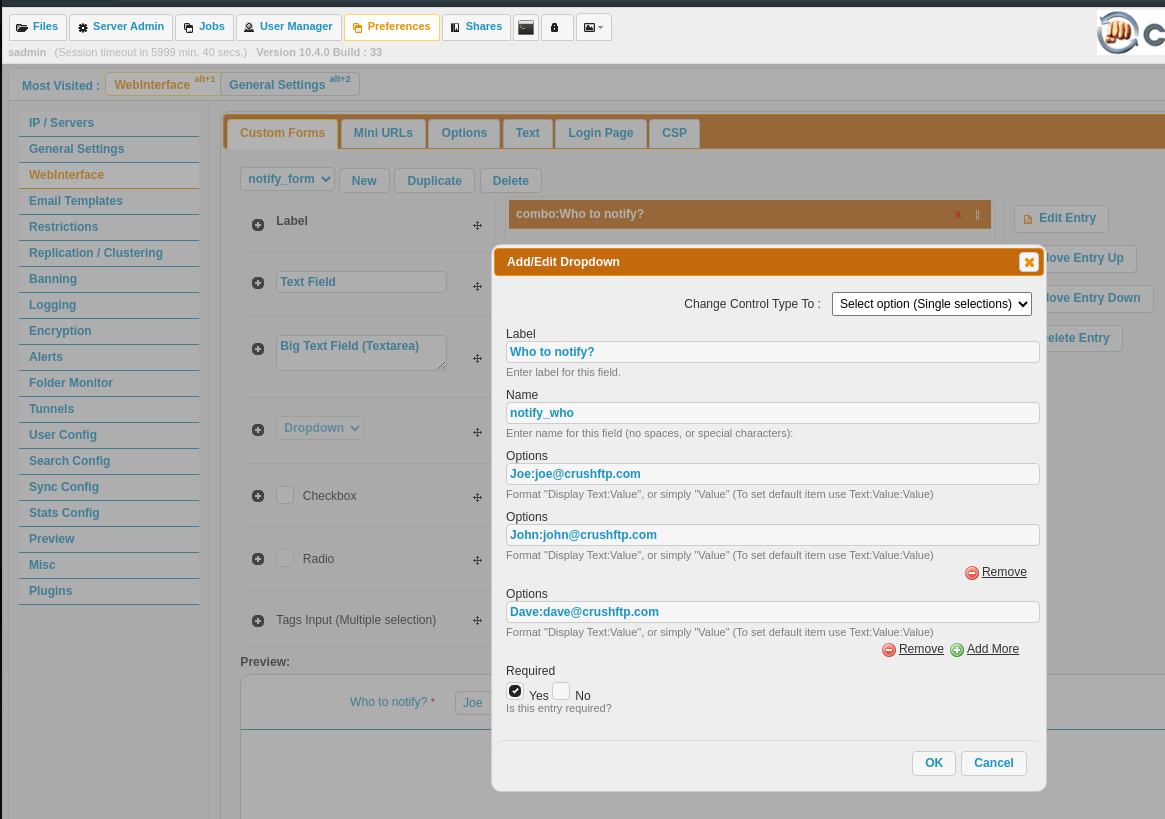
png |
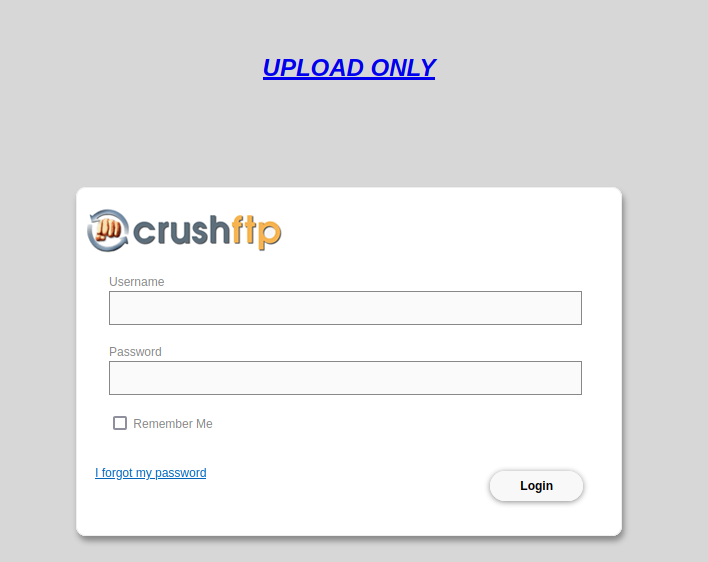
form.png | 113.7 kB | 2 | 12-Jul-2023 16:12 | Sandor | |
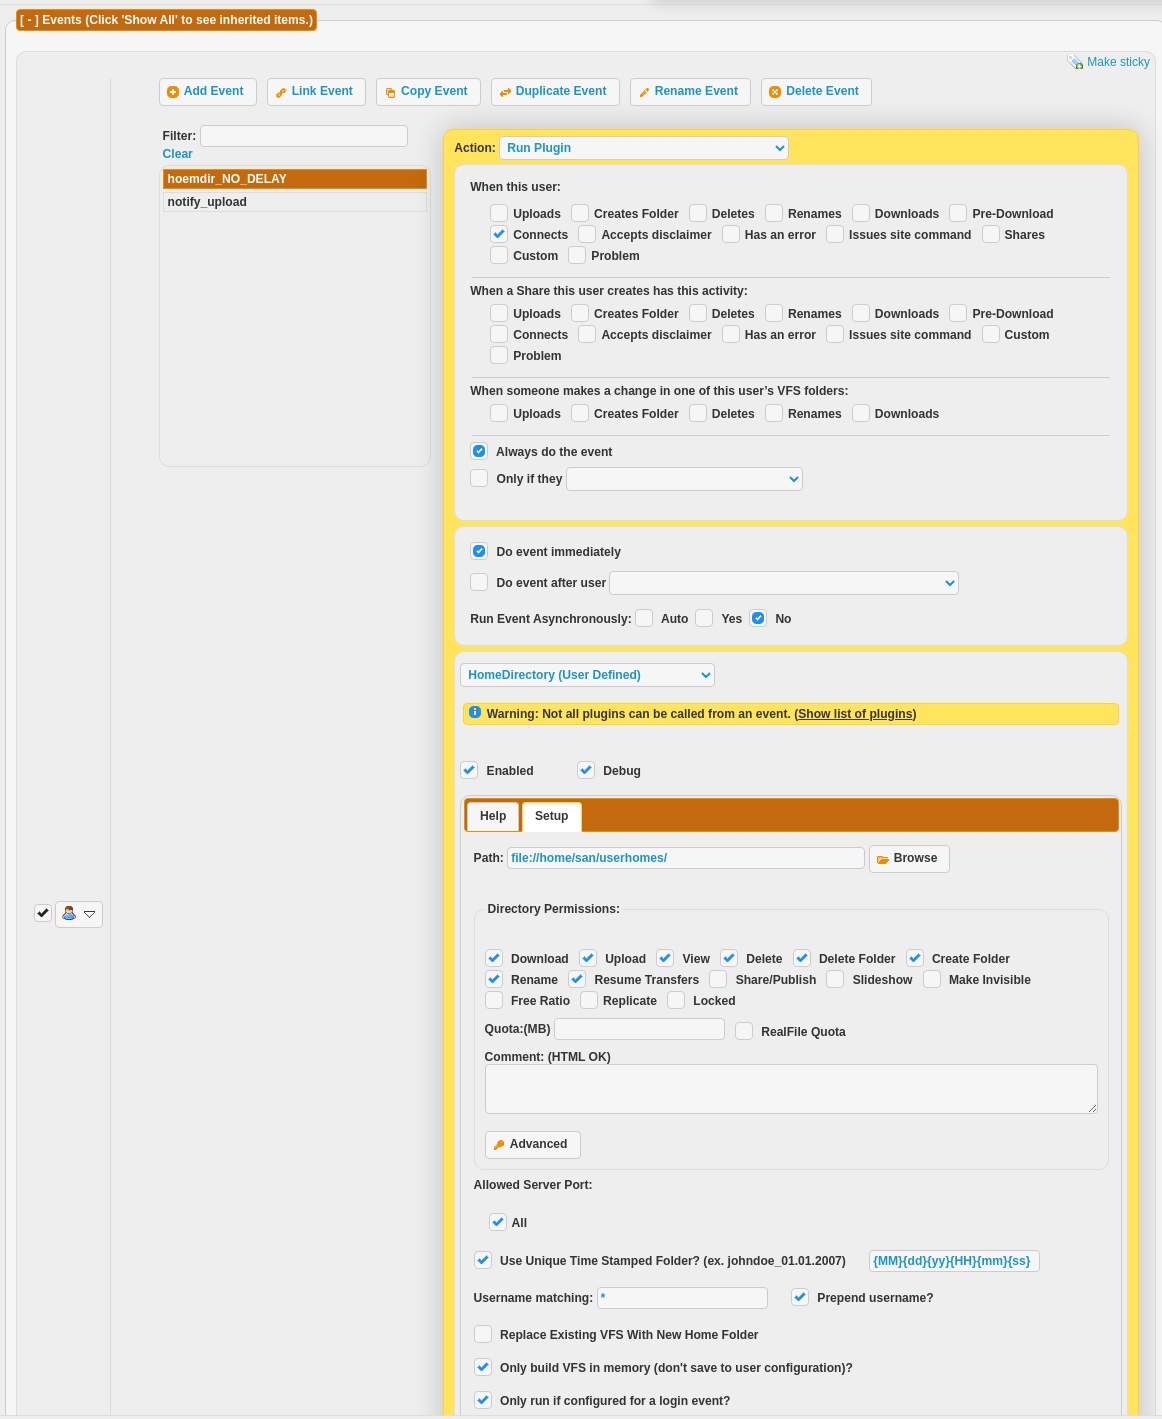
png |
homedir.png | 138.1 kB | 1 | 12-Jul-2023 16:12 | Sandor | |
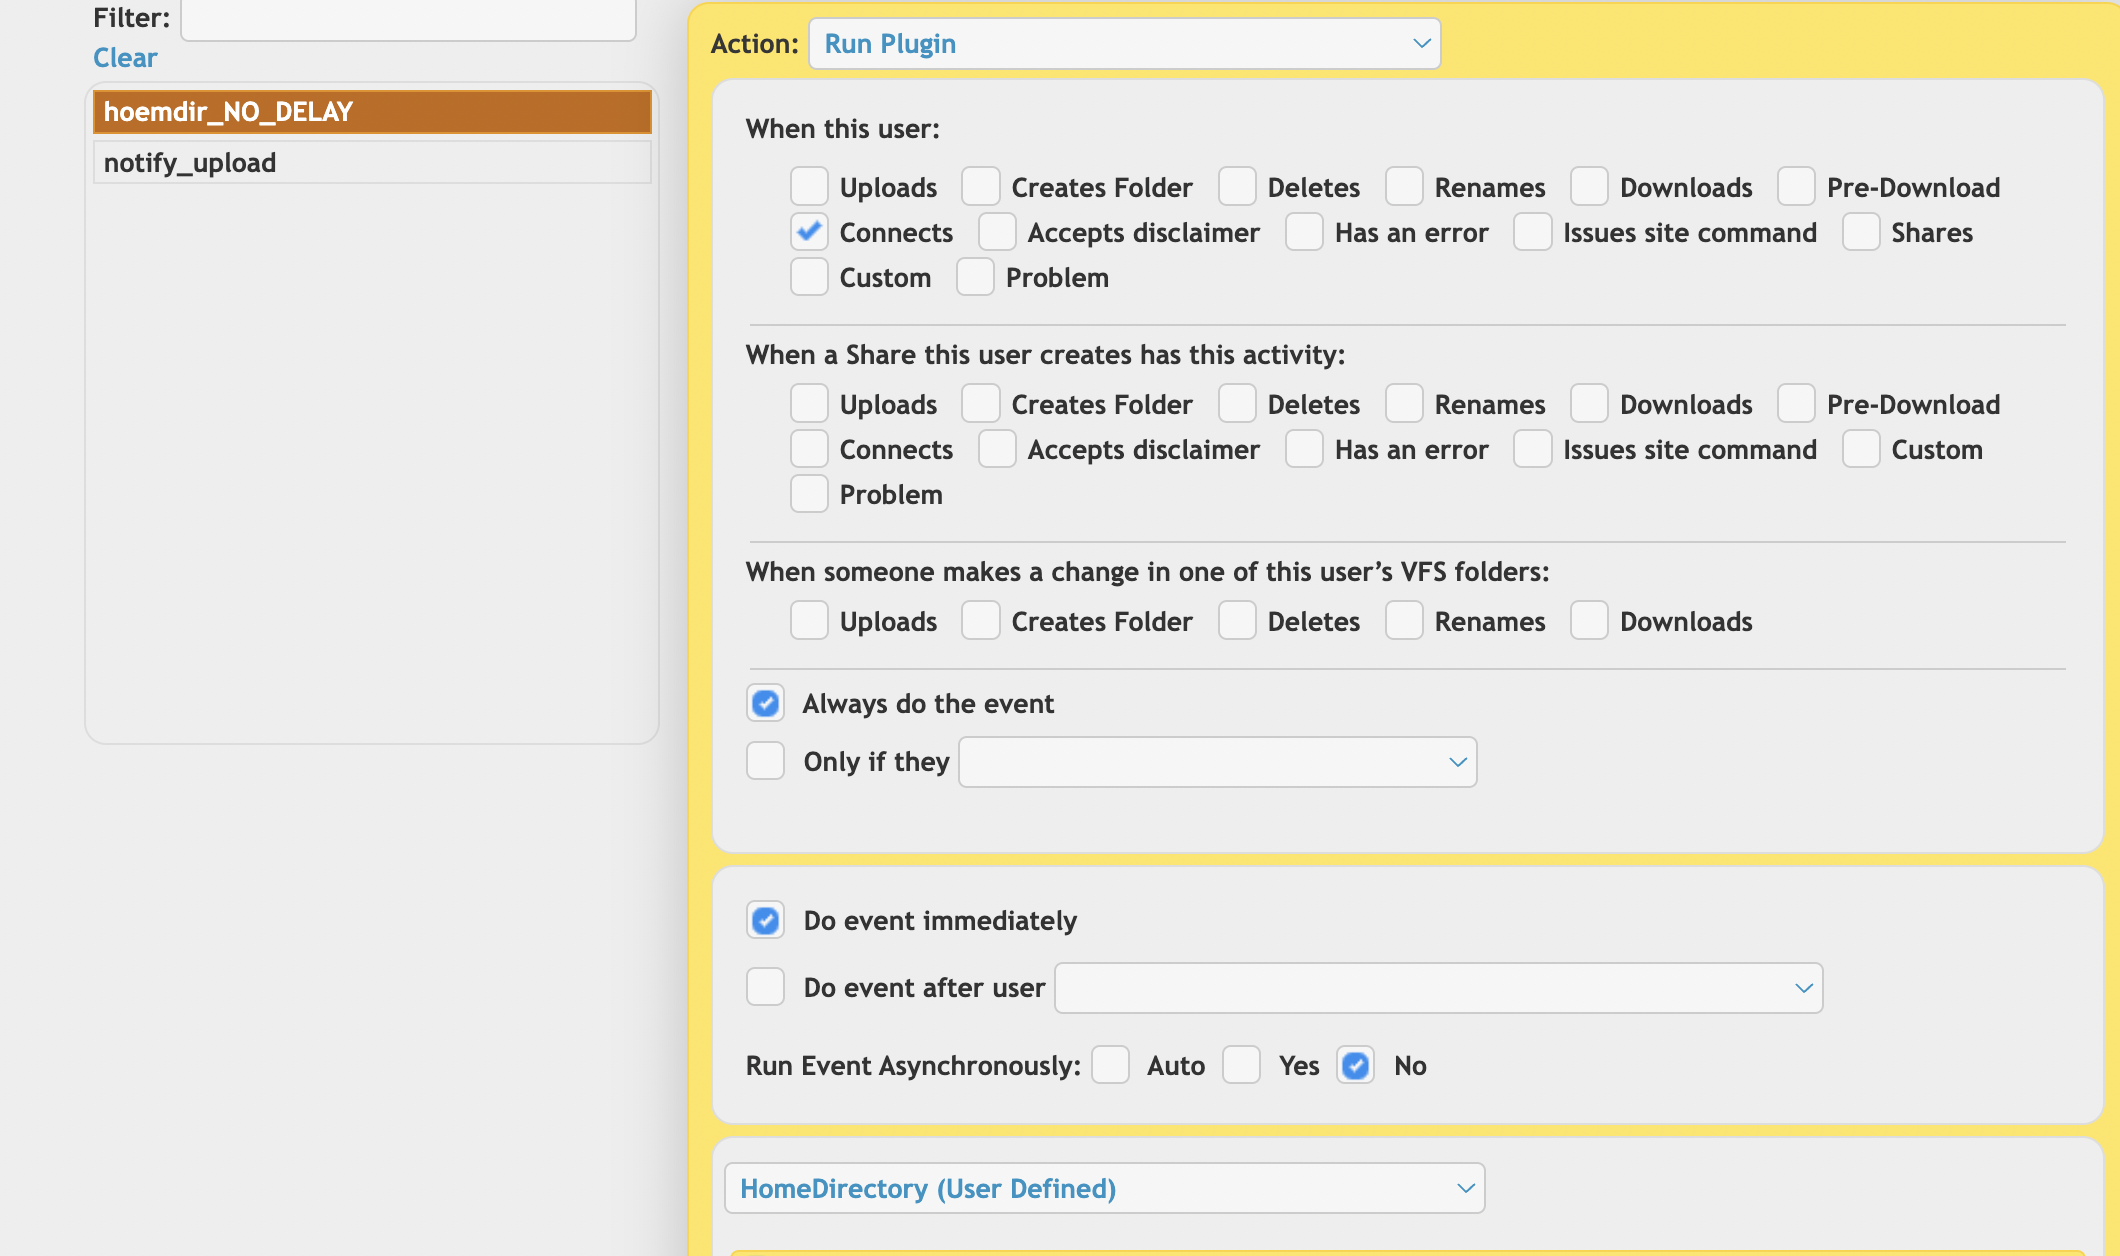
png |
homedir1.png | 849.2 kB | 1 | 12-Jul-2023 15:54 | Sandor | |
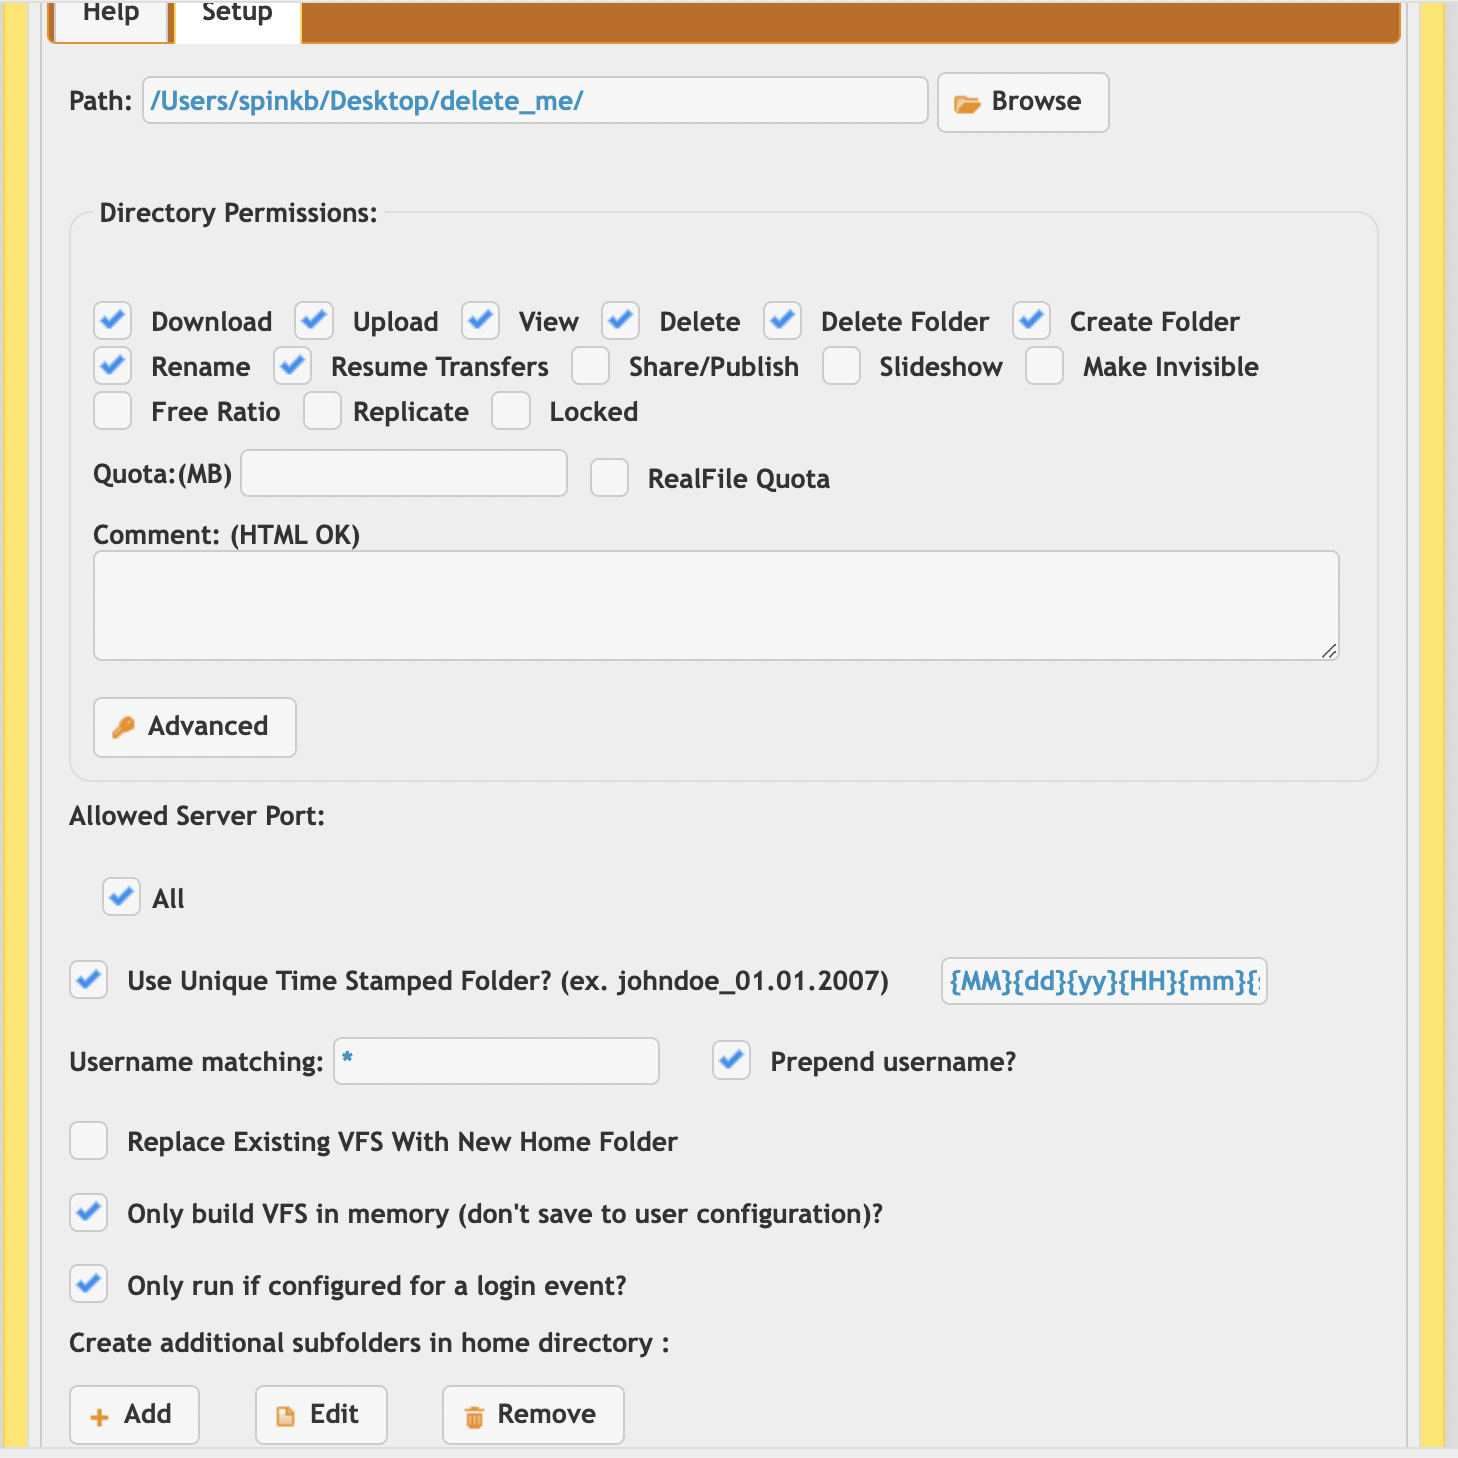
png |
homedir2.png | 795.2 kB | 1 | 12-Jul-2023 15:54 | Sandor | |
png |
link1.png | 8.6 kB | 1 | 12-Jul-2023 15:54 | Sandor | |
png |
link2.png | 3.7 kB | 1 | 12-Jul-2023 15:54 | Sandor | |
png |
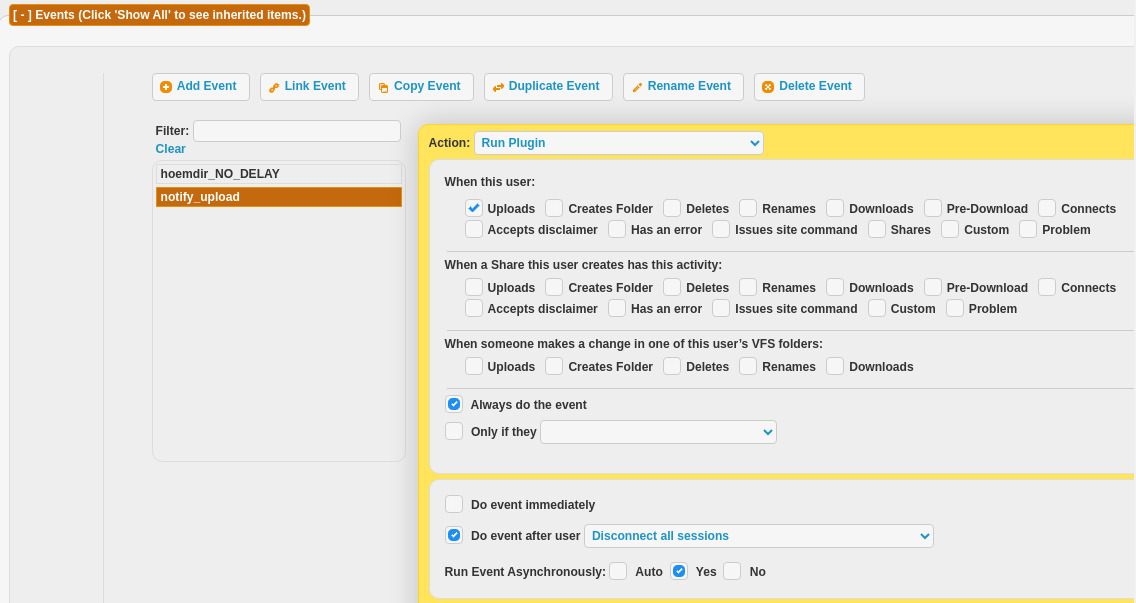
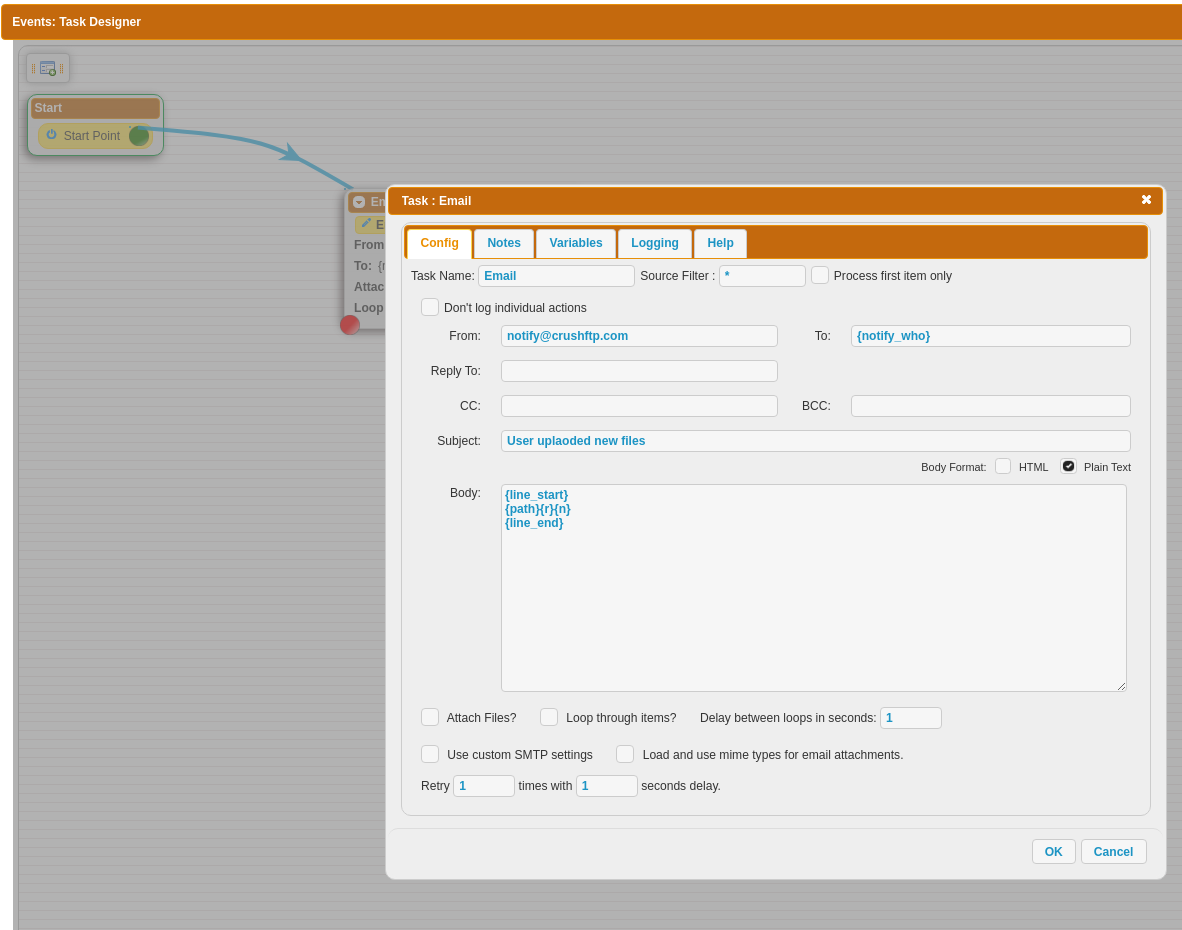
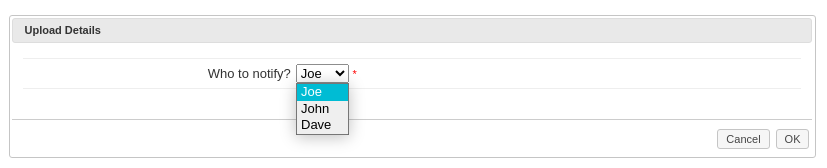
notify1.png | 64.0 kB | 2 | 12-Jul-2023 16:13 | Sandor | |
png |
notify2.png | 71.6 kB | 2 | 12-Jul-2023 16:13 | Sandor | |
png |
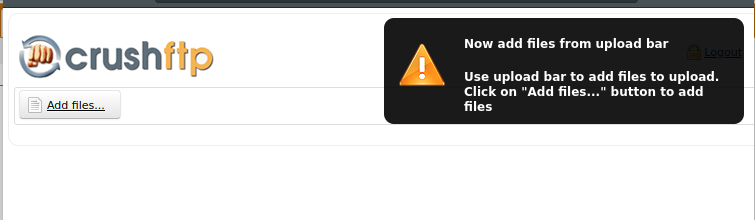
result.png | 25.0 kB | 1 | 12-Jul-2023 16:21 | Sandor | |
png |
result2.png | 23.0 kB | 1 | 12-Jul-2023 16:21 | Sandor | |
png |
result3.png | 9.3 kB | 1 | 13-Jul-2023 00:03 | Sandor | |
png |
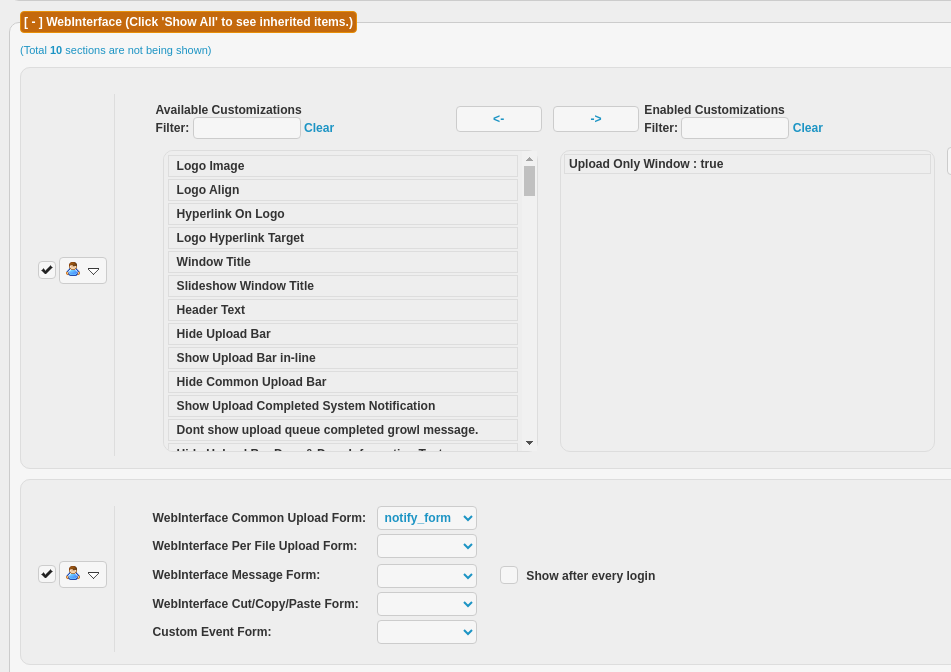
webinterface_customizations.pn... | 62.6 kB | 2 | 12-Jul-2023 16:13 | Sandor |
This page (revision-9) was last changed on 13-Jul-2023 00:15 by Sandor
This page was created on 12-Jul-2023 10:32 by Sandor
Only authorized users are allowed to rename pages.
Only authorized users are allowed to delete pages.
Incoming links
CrushTaskExample16 ...nobodyOutgoing links
| Version | Date Modified | Size | Author | Changes ... | Change note |
|---|---|---|---|---|---|
| 9 | 13-Jul-2023 00:15 | 4.668 kB | Sandor | to previous | |
| 8 | 13-Jul-2023 00:10 | 4.611 kB | Sandor | to previous | to last | |
| 7 | 12-Jul-2023 16:26 | 4.58 kB | Sandor | to previous | to last | |
| 6 | 12-Jul-2023 16:24 | 4.573 kB | Sandor | to previous | to last | |
| 5 | 12-Jul-2023 16:22 | 4.485 kB | Sandor | to previous | to last | |
| 4 | 12-Jul-2023 16:14 | 4.408 kB | Sandor | to previous | to last | |
| 3 | 12-Jul-2023 16:01 | 4.437 kB | Sandor | to previous | to last | |
| 2 | 12-Jul-2023 15:58 | 4.396 kB | Sandor | to previous | to last | |
| 1 | 12-Jul-2023 10:32 | 0.39 kB | Sandor | to last |
«
This page (revision-9) was last changed on 13-Jul-2023 00:15 by Sandor
G’day (anonymous guest)
Log in
CrushFTP10 | What's New

- WebInterface
- Server Admin
- User Manager
- Client Apps
- CrushBalance Load Balancer
- High Availability
- Self Registration
- Preferences
- Email Templates
- Restrictions
- Replication
- Banning
- Logging
- Encryption
- Alerts
- Folder Monitor
- Tunnels
- Syncs
- User Config
- Search Config
- Preview
- Misc
- Plugins
- FAQ
- API
- Linux Install
- Virtual Linux Server
- Server Variables
- Google Authenticator and Microsoft Authenticator
JSPWiki