Setup#
Go to the server preferences, and select tunnels.
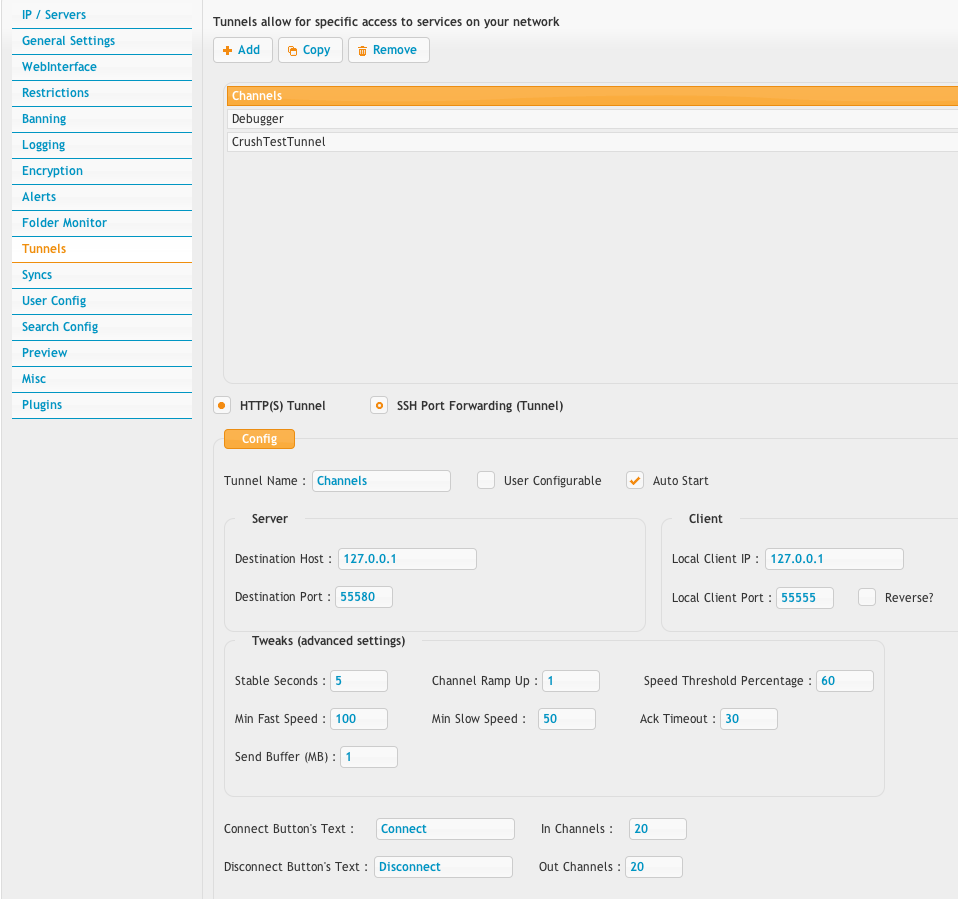
Create a new tunnel, using the HTTP(S) Tunnel type. Enable Auto start, and Use Chunked Encoding. The name is not important, but something simple will do.
The local client port must be 55555. That is five fives.
The destination host must be 127.0.0.1, and the destination port can be anything as it will be ignored for this configuration.
Set the in Channels, and out Channels to be an appropriate multiplier for the speed gain you are looking for. You want to use the smallest value possible that still gives you the performance you need. I usually suggest something around 10 to 20. The min should be 1, and the max should be between 10 and 20. Enable the Auto checkbox on both as well.
Ports#
Next, go to the IP / Servers tab in the server preferences. Add two new server port items. The first on 55521 (FTP), and the other on 55580 (HTTP). Both should have their IP set to 127.0.0.1, and have the User Connection Group set to the same value as your main server's HTTPS ports value.
These ports, their protocol, and IPs must be set as defined. They will be used internally as part of the tunnel process. They must be FTP and HTTP respectively. They will be tunneled over the secure HTTPS tunnel.

Users#
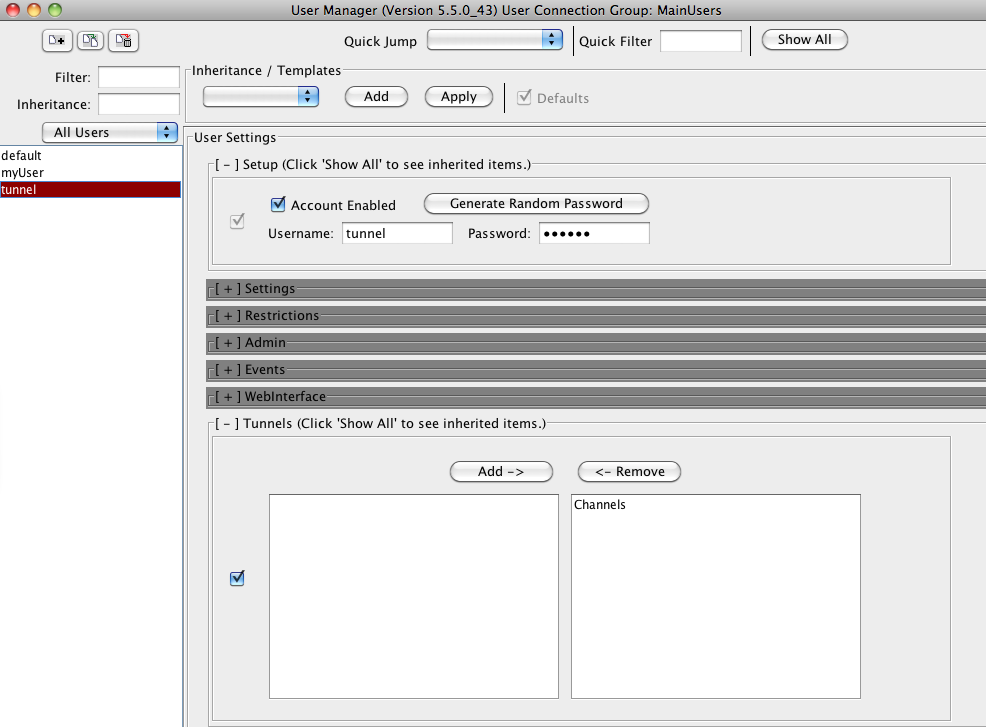
Open the user manager, and select your user you want to allow to use the accelerated tunnel. Grant them access to that tunnel.
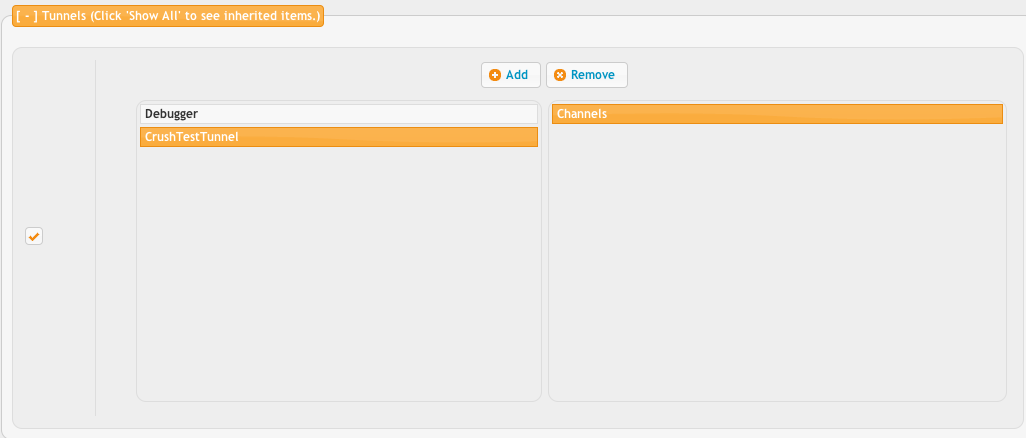
At this point, you can login and use the WebInterface and start getting the accelerated speeds.
HTTP#
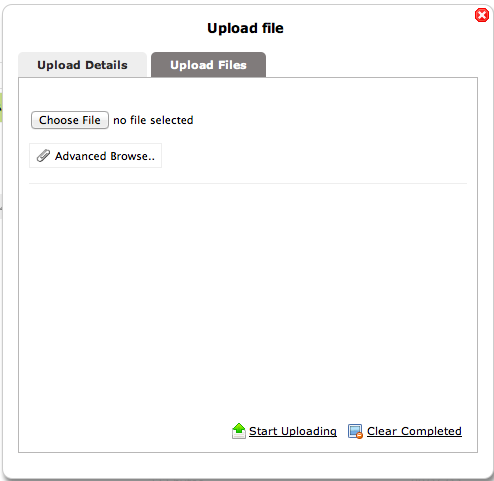
Using the normal WebInterface now will allow for accelerated transfers when you use the advanced uploader, or advanced downloader.
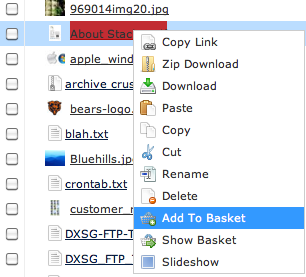
To get the advanced downloader, add the files into a basket by right clicking and selecting Add To Basket. Then use the advanced link to download.
FTP#
With a few more steps, you can also configure FTP to be tunnels. The FTP protocol can be sent over the HTTPS encrypted tunnel and get the same speed gains as the WebInterface's automatic Java applet handling. To do this, we use a java web start application that can start and stop the tunnel for a local FTP client to connect through.
We make a dummy user named "tunnel" that has no access to anything, other than the ability to login, and startup a secure tunnel.
Now you can use a URL like this in your web browser to download and start the tunnel for the FTP client.
https://www.domain.com/?u=tunnel&p=tunnel&path=/WebInterface/CrushTunnel.jnlp
When this launches, it will ask you for the tunnel username. This will be "tunnel" that you configured above. You can also hard code this if you make a copy of this jnlp file so the user doesn't need to enter in this information ever time. Add in these two lines to the properties:
<property name="crushtunnel.remote.user" value="tunnel"/>
<property name="crushtunnel.remote.pass" value="tunnel"/>

Once the tunnel has been started, you can use any FTP client on the same machine, and go to:
ftp://user:pass@127.0.0.1:55555/
Add new attachment
List of attachments
| Kind | Attachment Name | Size | Version | Date Modified | Author | Change note |
|---|---|---|---|---|---|---|
png |
advanced_upload.png | 25.7 kB | 2 | 29-Dec-2020 05:25 | Ben Spink | |
png |
crushtunnel_diagram.png | 80.7 kB | 1 | 29-Dec-2020 05:25 | Ben Spink | |
png |
download_basket.png | 39.9 kB | 1 | 29-Dec-2020 05:25 | Ben Spink | |
png |
jnlp.png | 25.7 kB | 1 | 29-Dec-2020 05:25 | Ben Spink | |
png |
ports.png | 50.1 kB | 2 | 29-Dec-2020 05:25 | Ben Spink | |
png |
prefs_tunnel.png | 77.9 kB | 3 | 29-Dec-2020 05:25 | Ben Spink | |
png |
tunnel_only.png | 74.7 kB | 1 | 29-Dec-2020 05:25 | Ben Spink | |
png |
user_tunnel.png | 22.0 kB | 2 | 29-Dec-2020 05:25 | Ben Spink | |
png |
user_tunnel_client.png | 268.4 kB | 2 | 29-Dec-2020 05:25 | Halmágyi Árpád |

- WebInterface
- Server Admin
- User Manager
- Client Apps
- CrushBalance Load Balancer
- High Availability
- Self Registration
- Preferences
- Email Templates
- Restrictions
- Replication
- Banning
- Logging
- Encryption
- Alerts
- Folder Monitor
- Tunnels
- Syncs
- User Config
- Search Config
- Preview
- Misc
- Plugins
- FAQ
- API
- Linux Install
- Virtual Linux Server
- Server Variables
- Google Authenticator and Microsoft Authenticator