Add new attachment
Only authorized users are allowed to upload new attachments.
List of attachments
| Kind | Attachment Name | Size | Version | Date Modified | Author | Change note |
|---|---|---|---|---|---|---|
jpg |
Clipboard05.jpg | 139.3 kB | 1 | 05-Dec-2023 05:32 | Ada Csaba | |
png |
Clipboard05.png | 116.6 kB | 1 | 05-Dec-2023 05:32 | Ada Csaba | |
jpg |
IMG_2500.jpg | 191.7 kB | 1 | 05-Dec-2023 05:32 | Sandor | |
jpg |
IMG_2501.jpg | 464.9 kB | 1 | 05-Dec-2023 05:32 | Sandor | |
jpg |
IMG_2502.jpg | 52.0 kB | 1 | 05-Dec-2023 05:32 | Sandor | |
png |
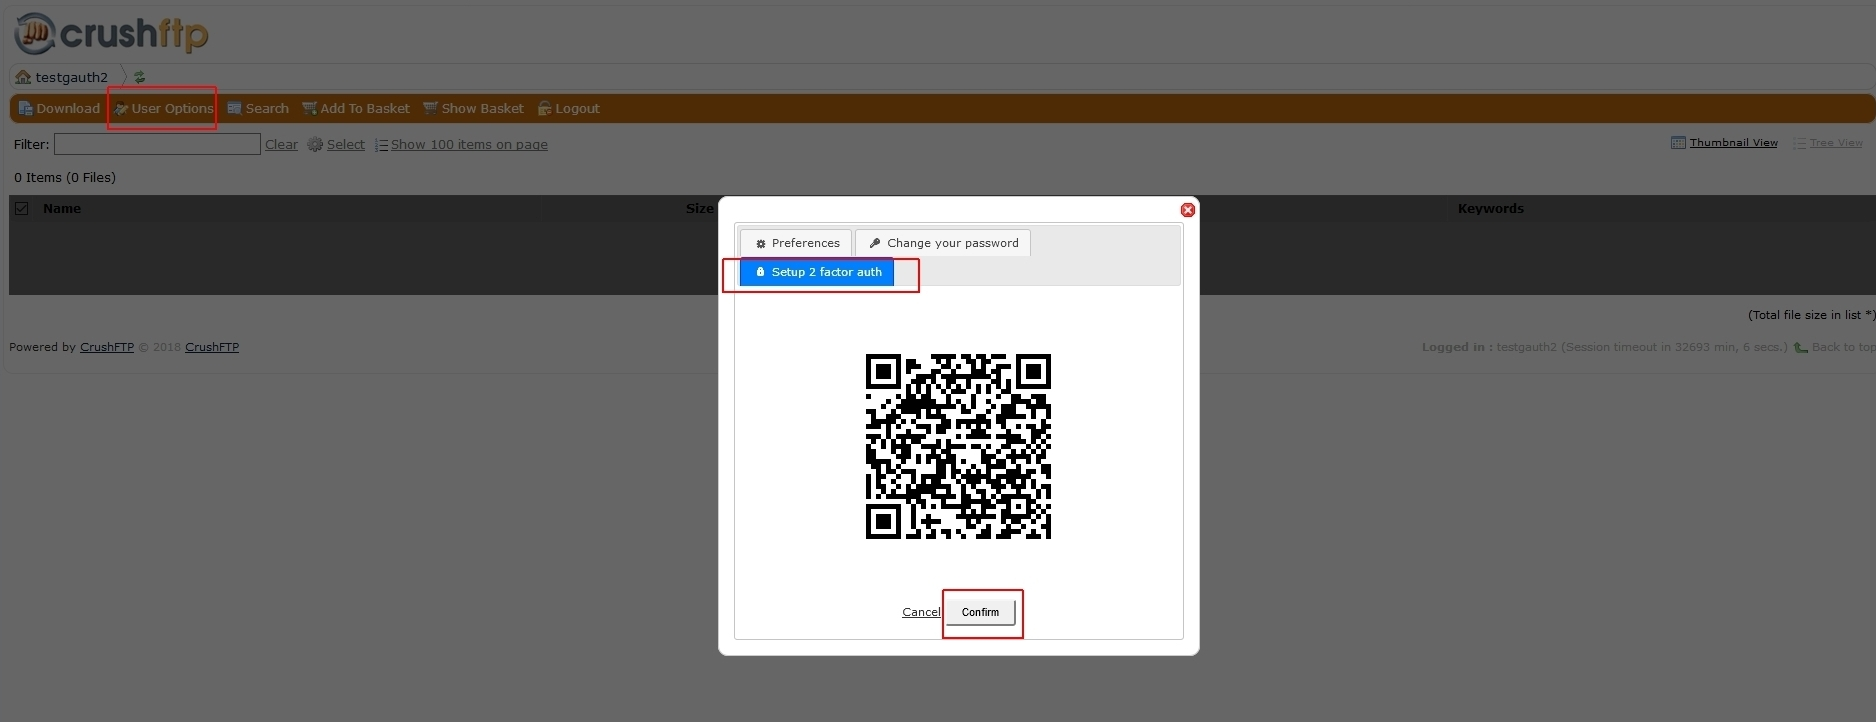
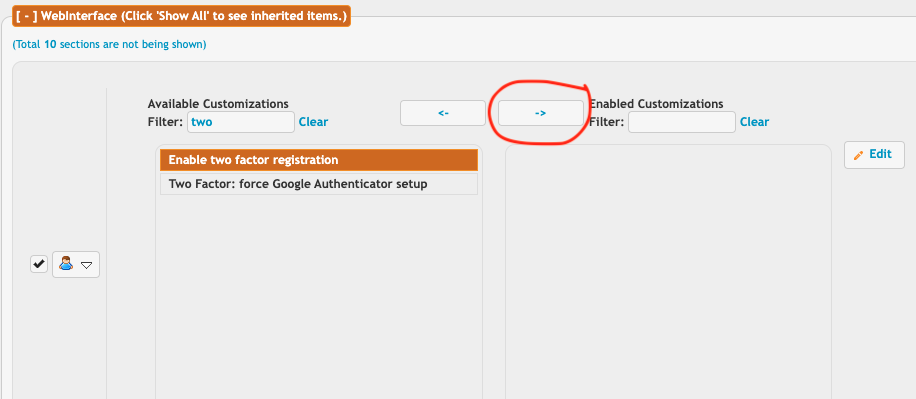
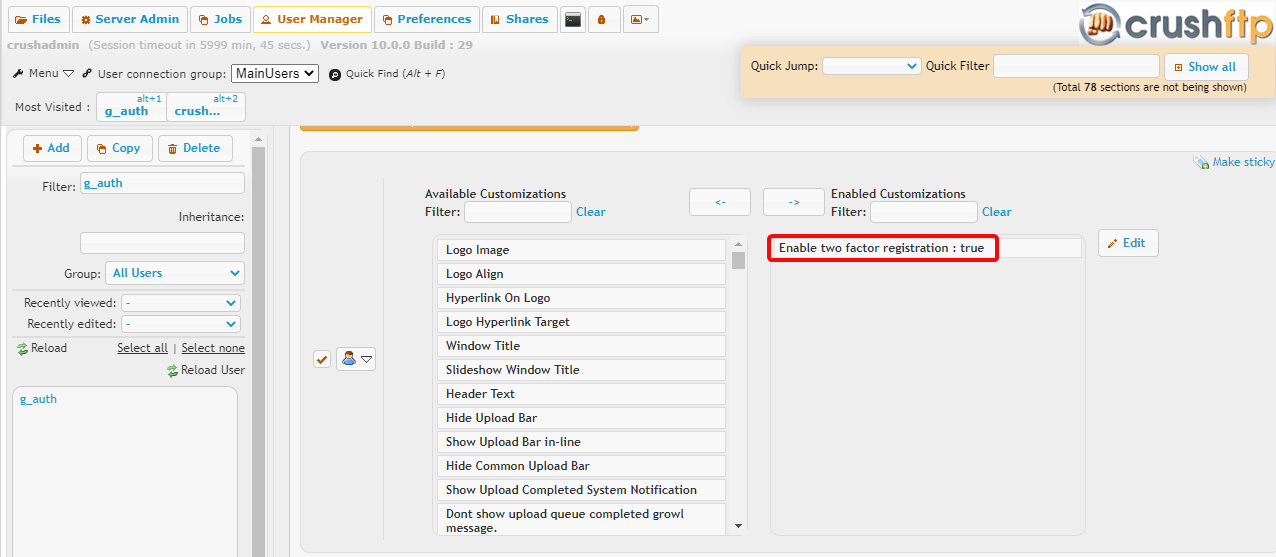
enable_two_factor.png | 42.5 kB | 2 | 26-Feb-2024 03:15 | Ben Spink | |
png |
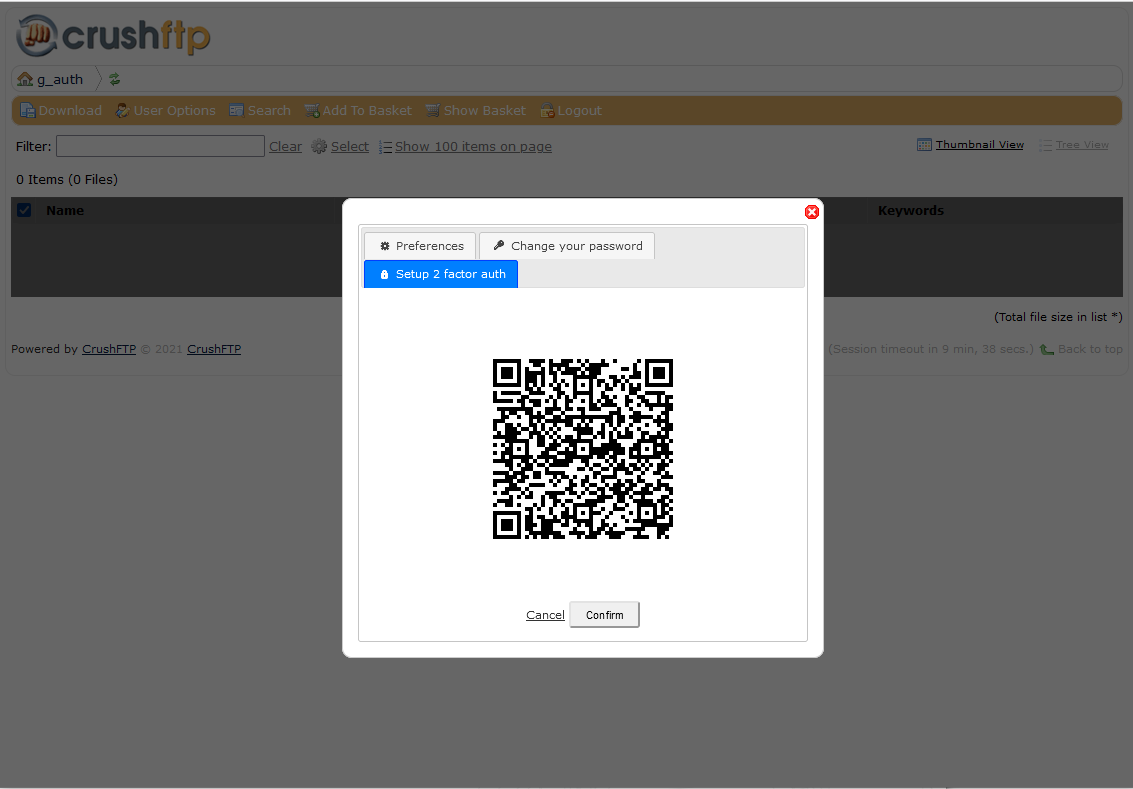
qr_otp.png | 1,990.7 kB | 1 | 26-Feb-2024 03:00 | Ben Spink | |
png |
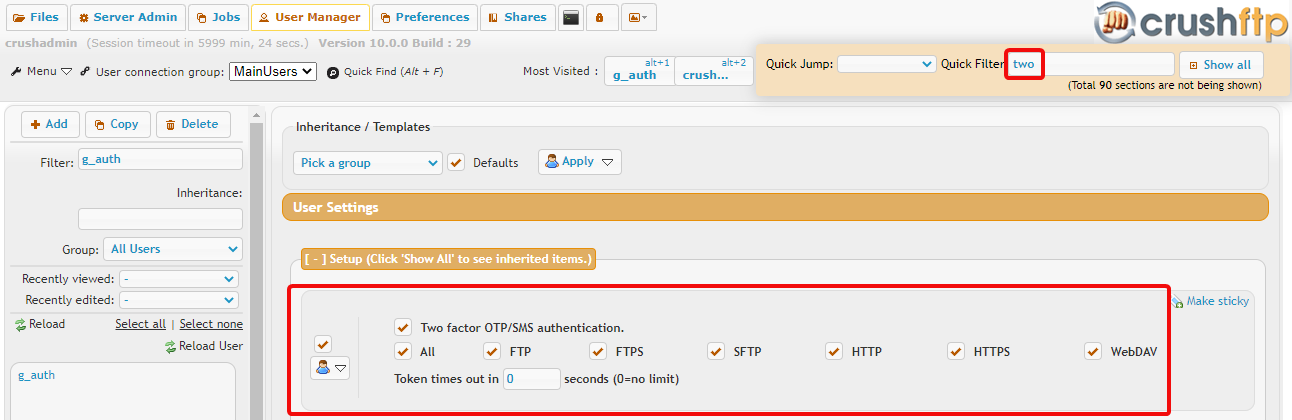
servercfg001.png | 23.0 kB | 5 | 05-Dec-2023 05:32 | Sandor | |
png |
servercfg002.png | 54.1 kB | 4 | 05-Dec-2023 05:32 | Sandor | actualized v10 |
png |
servercfg002.png.png | 54.1 kB | 1 | 05-Dec-2023 05:32 | Sandor | actualized v10 |
png |
servercfg003.png | 64.4 kB | 4 | 05-Dec-2023 05:32 | Sandor | |
png |
servercfg004.png | 43.2 kB | 4 | 05-Dec-2023 05:32 | Sandor | |
png |
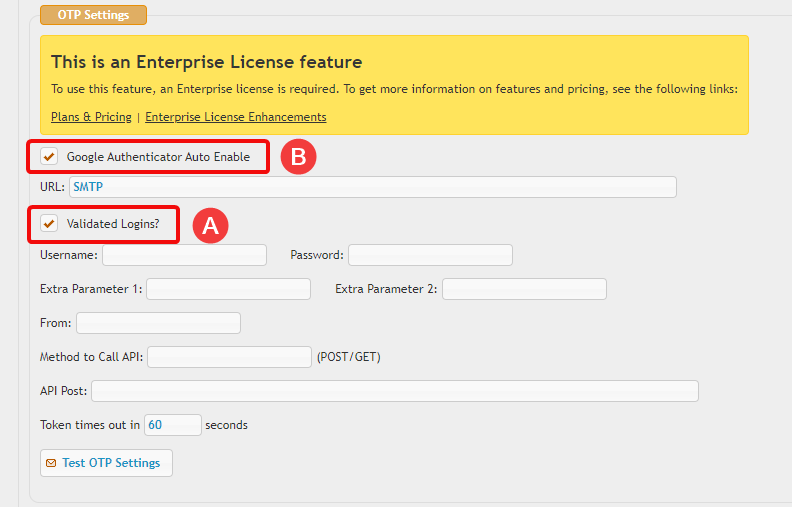
tokencfg001.png | 101.9 kB | 2 | 05-Dec-2023 05:32 | Ada Csaba | |
png |
tokencfg002.png | 96.2 kB | 2 | 05-Dec-2023 05:32 | Ada Csaba | |
png |
tokencfg003.png | 37.4 kB | 2 | 05-Dec-2023 05:32 | Ada Csaba |
This page (revision-59) was last changed on 14-May-2025 01:37 by krivacsz
This page was created on 05-Dec-2023 05:32 by Ada Csaba
Only authorized users are allowed to rename pages.
Only authorized users are allowed to delete pages.
Incoming links
Authenticator ...nobodyOutgoing links
| Version | Date Modified | Size | Author | Changes ... | Change note |
|---|---|---|---|---|---|
| 59 | 14-May-2025 01:37 | 5.315 kB | krivacsz | to previous | |
| 58 | 14-May-2025 01:33 | 5.289 kB | krivacsz | to previous | to last | |
| 57 | 14-May-2025 01:33 | 5.287 kB | krivacsz | to previous | to last | |
| 56 | 13-May-2025 07:42 | 5.283 kB | krivacsz | to previous | to last | |
| 55 | 20-Jan-2025 11:02 | 5.268 kB | Ben Spink | to previous | to last | |
| 54 | 20-Jan-2025 10:57 | 5.279 kB | Ben Spink | to previous | to last | Google Authenticator ==> Authenticator |
| 53 | 10-Oct-2024 10:57 | 5.279 kB | Ben Spink | to previous | to last | |
| 52 | 10-Oct-2024 10:54 | 5.581 kB | Ben Spink | to previous | to last | |
| 51 | 05-Aug-2024 02:40 | 5.647 kB | Ben Spink | to previous | to last | |
| 50 | 05-Apr-2024 10:11 | 5.625 kB | Ada Csaba | to previous | to last | |
| 49 | 26-Feb-2024 03:14 | 5.287 kB | Ben Spink | to previous | to last | |
| 48 | 26-Feb-2024 03:13 | 5.282 kB | Ben Spink | to previous | to last | |
| 47 | 26-Feb-2024 03:11 | 5.277 kB | Ben Spink | to previous | to last | |
| 46 | 26-Feb-2024 03:04 | 5.196 kB | Ben Spink | to previous | to last | |
| 45 | 26-Feb-2024 03:00 | 4.949 kB | Ben Spink | to previous | to last | |
| 44 | 05-Dec-2023 05:32 | 4.955 kB | Sandor | to previous | to last | |
| 43 | 05-Dec-2023 05:32 | 4.951 kB | Sandor | to previous | to last | |
| 42 | 05-Dec-2023 05:32 | 4.943 kB | Sandor | to previous | to last | |
| 41 | 05-Dec-2023 05:32 | 4.947 kB | Sandor | to previous | to last |
«
This page (revision-59) was last changed on 14-May-2025 01:37 by krivacsz
G’day (anonymous guest)
Log in
CrushFTP11 | What's New

- WebInterface
- Server Admin
- User Manager
- Client Apps
- CrushBalance Load Balancer
- High Availability
- Self Registration
- Preferences
- Email Templates
- Restrictions
- Replication
- Banning
- Logging
- Encryption
- Alerts
- Folder Monitor
- Tunnels
- Syncs
- User Config
- Search Config
- Preview
- Misc
- Plugins
- Manage Shares
- PGP
- Telnet
- FAQ
- API
- Linux Install
- Virtual Linux Server
- Server Variables
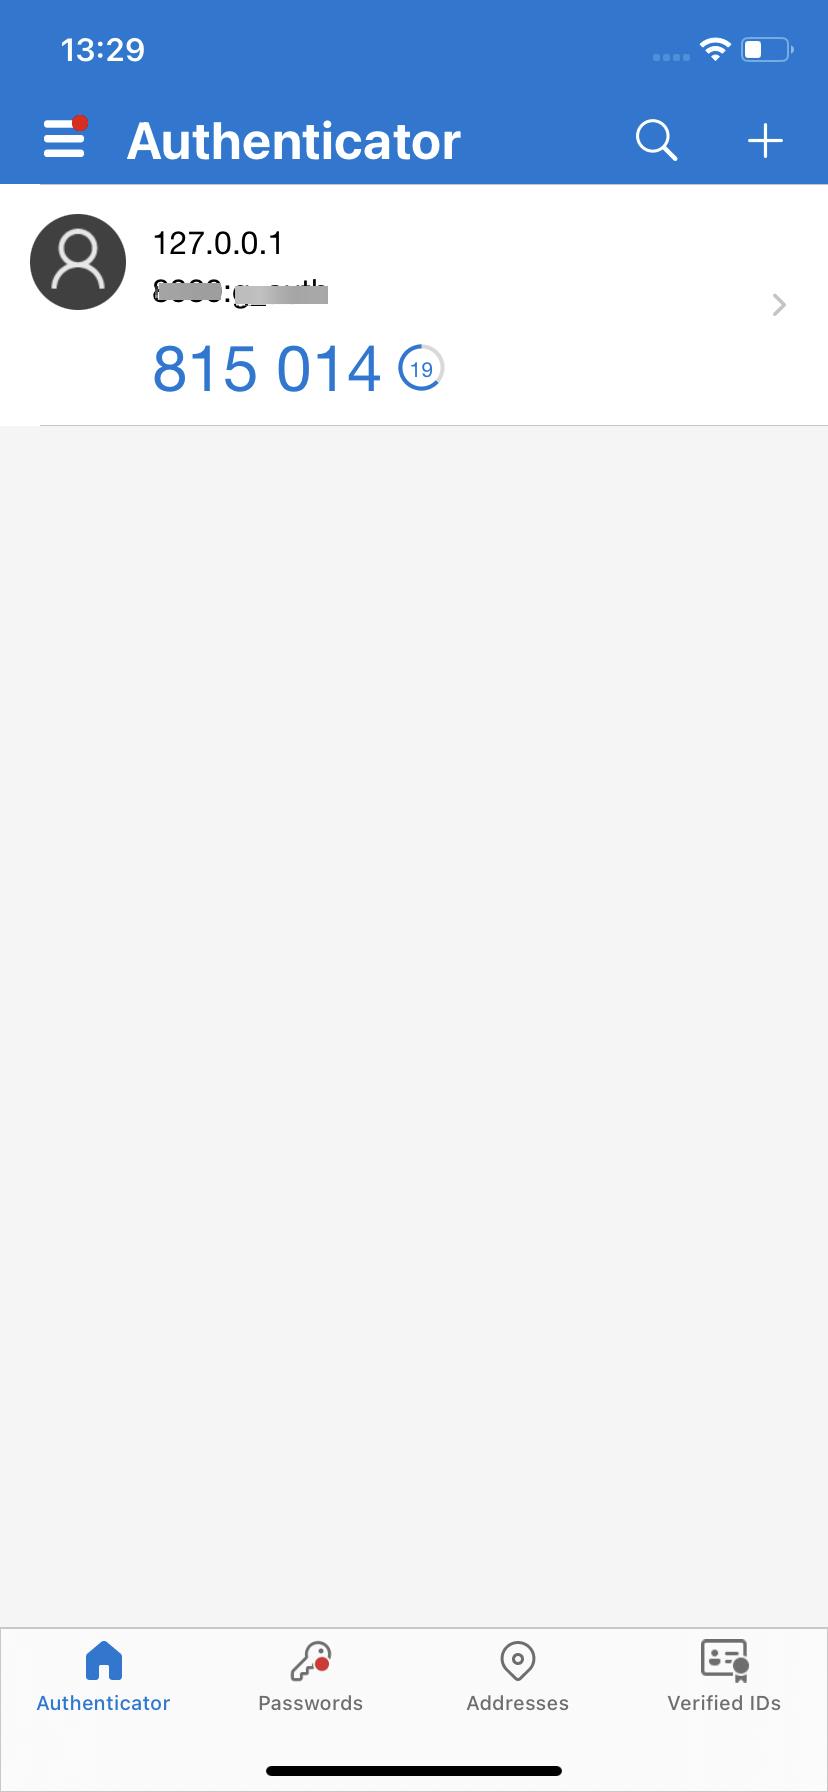
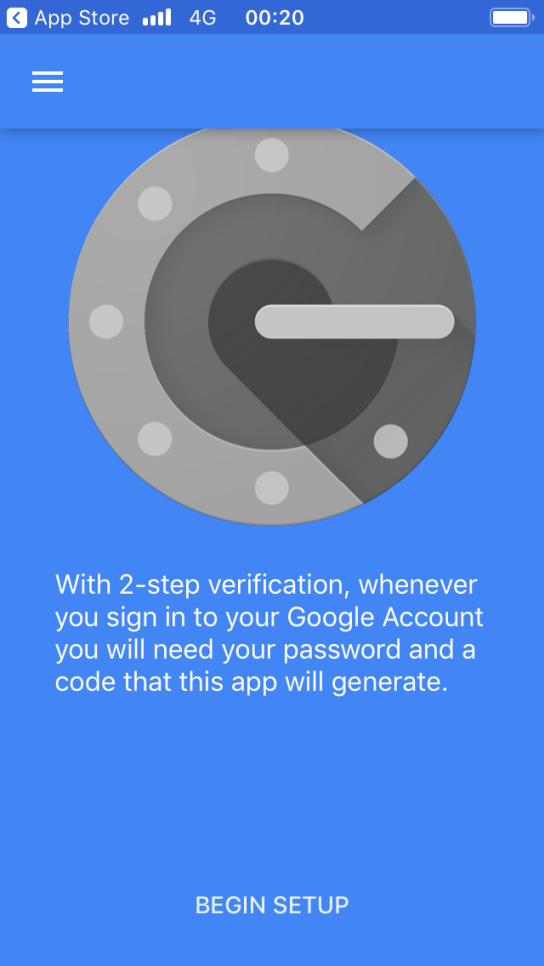
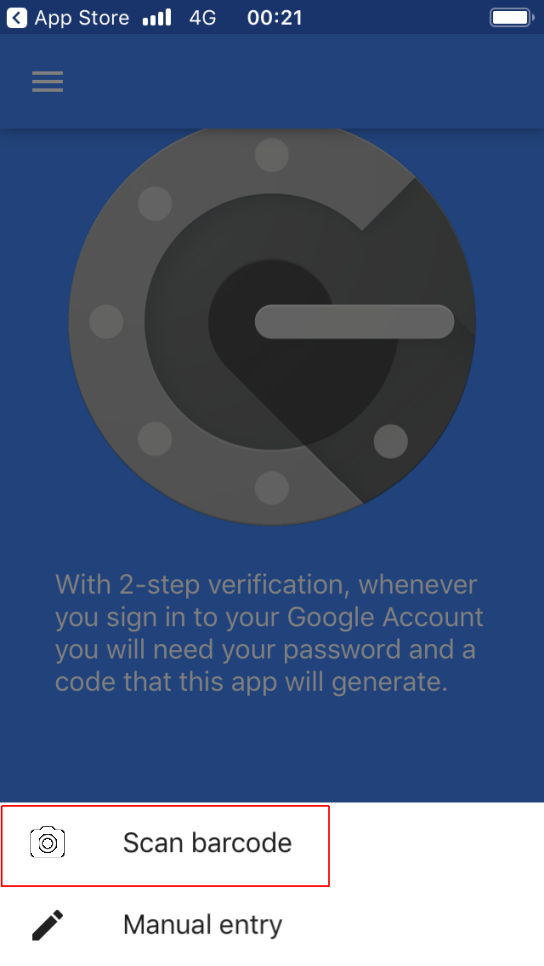
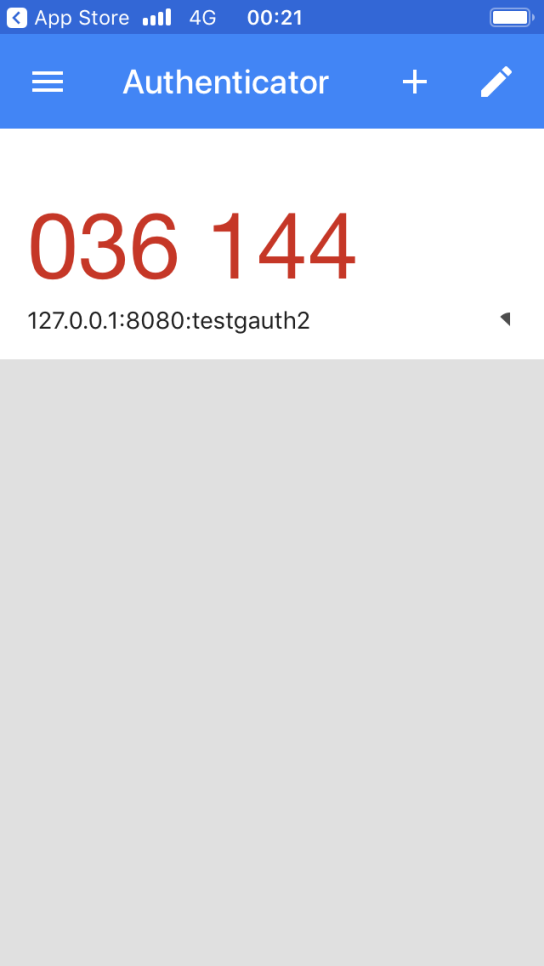
- Google Authenticator and Microsoft Authenticator
- AS2 EDI
JSPWiki